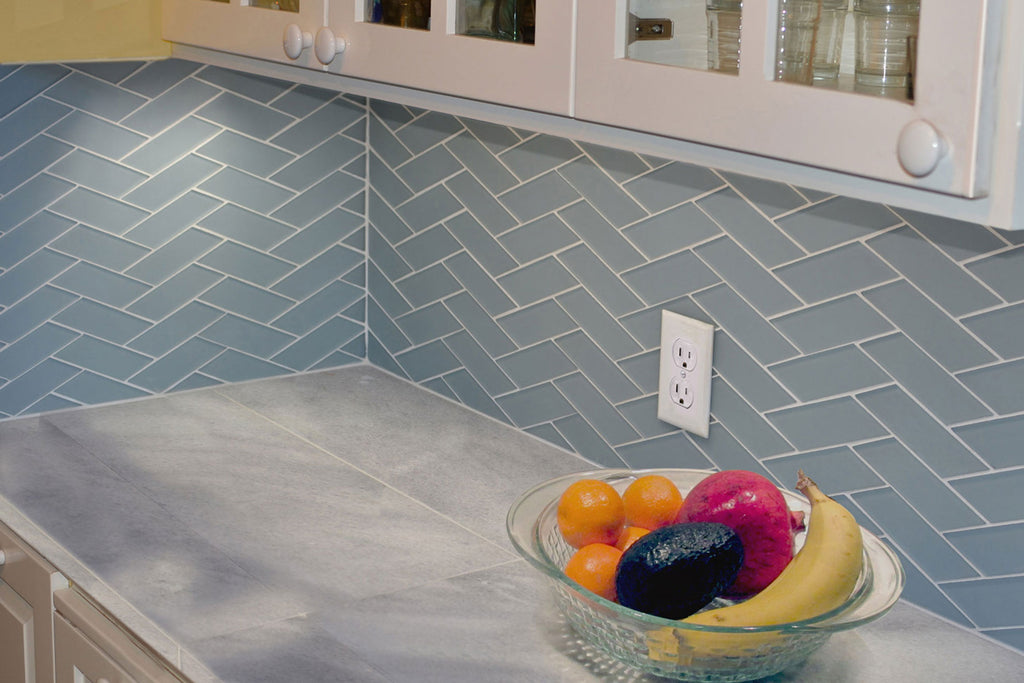
Crossroads glass is a classic Island Stone tile. A fusion of herringbone and chevron design elements, Crossroads is an original pattern that takes these popular patterns in a uniquely Island Stone direction. A modern take on the underlying pattern highlighted in many historic architectural designs, Crossroads is an excellent fit for contemporary residential and commercial designs alike.
When cutting glass tile, you’ll need a wet saw with a glass tile blade. It’s important to have the necessary equipment or your tile cuts will turn out chipped. Due to the acute angles created when cutting the Crossroads glass, special considerations need to be made to insure a clean edge is achieved and that the glass surface does not fracture along cut edge when cutting the tile to fit the edge of an installed area.
*While this instructional is specific to cutting along the horizontal direction of the mosaic, the same approach can be used to ensure a clean finish when cutting along the vertical edge.
Step 1:
Determine where the cut is to occur on the tile and mark the cut line across the entire tile with a pencil as shown.

Step 2:
Cut the mesh under the tiles for each cut that you plan on making. For this example we are cutting the far left piece from step 1.

Step 3:
Cut inwards along the line from one side of the piece to an approximate depth of ½”-1” as shown.

Step 4:
Turn the tile 180 degrees and slowly cut along the line until the 2nd cut meets up with the 1st cut. You should now have a piece as shown.

Step 5:
Repeat steps 2-4 for each individual piece.
Step 6:
Individually place cut pieces back into locations within the mosaics you install into the final location.

For any additional help or information, please don’t hesitate to contact our tile experts at Island Stone!

